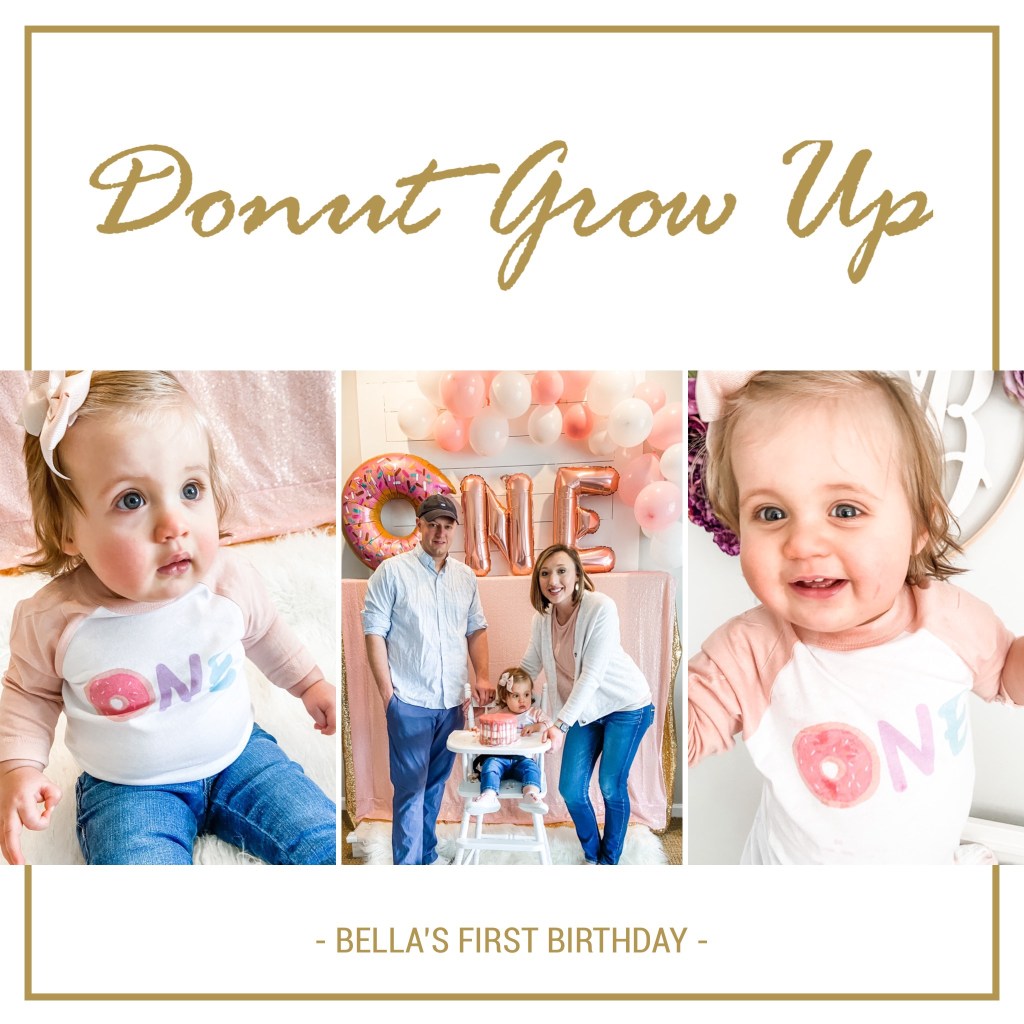
We recently got to celebrate our baby girl’s first birthday (cue the tears). I decided to go with the donut theme because (1) the decor is so stinkin’ cute and (2) mama likes donuts 😝.
The best part – the majority of her decor was DIY, right down to the cake, which means it didn’t break the bank. 🙌🏻 Don’t think you’re a do it yourselfer? Think again. If this full time working mama can throw this together, I promise you can. Below I’ve shared links to all the supplies you need & tips for throwing your own DIY donut themed birthday party. If you have a Slihouette machine, you’ll find a /FREE/ cut file for a birthday banner below.
💗 Want to skip the DIY part? You can find most of the decor & a few outfit options here: http://liketk.it/2LlSw 💗
The Decor
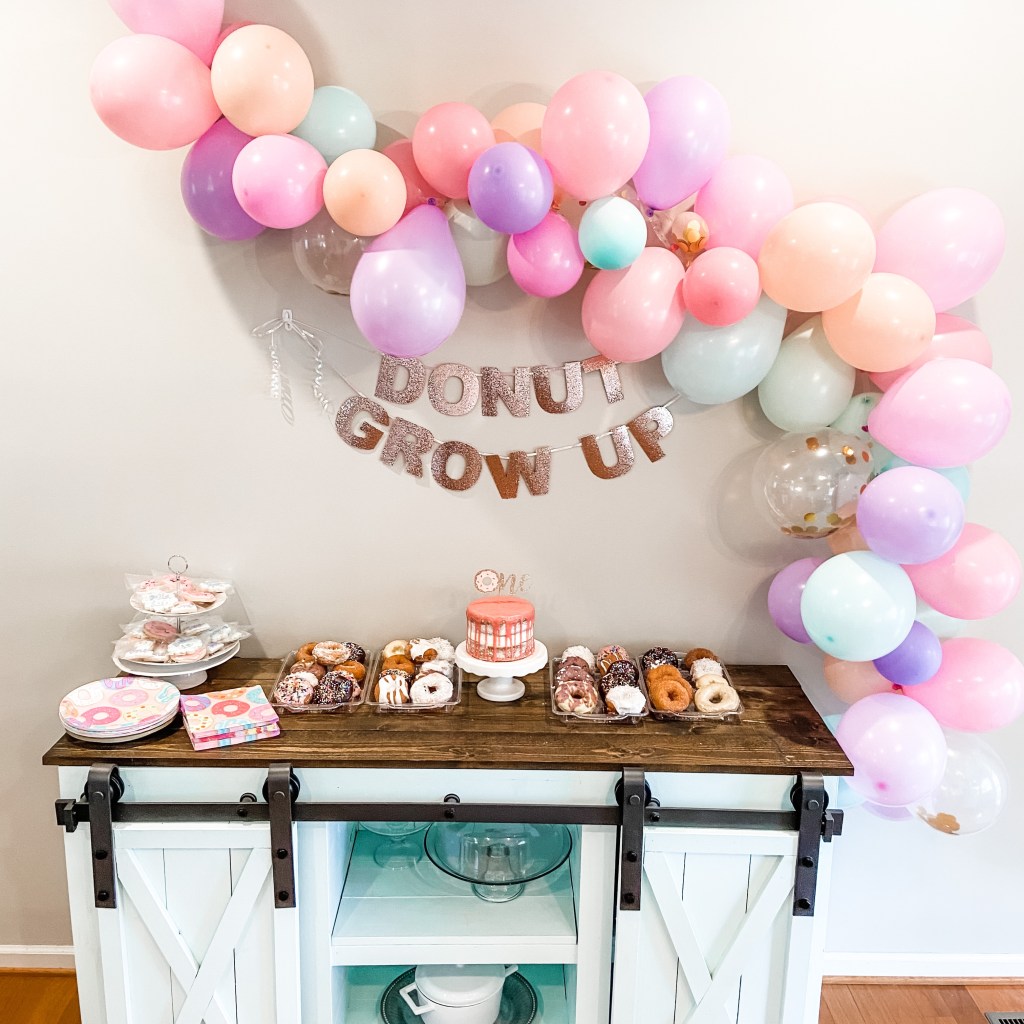

- Balloon Arch: Balloons arches and garland are an easy way to make a party look great without it costing a lot. It’s also impossible to mess up this DIY. // Tip: use a balloon pump and blow up balloons in varying sizes. // Supplies you’ll need:
- Balloon garland tape
- Balloons (the pastel balloons shown in the pics linked here)
- Balloon pump
- Command hooks
- Donut grow up garland: I made the garland show using glitter card stock and my Silhouette machine. You can also buy a pre-made option here: https://rstyle.me/cz-n/d3uu3dckujf
- Donut plates: https://www.partycity.com/donut-party-lunch-plates-8ct-866216.html
- Donut napkins: https://www.partycity.com/donut-party-lunch-napkins-16ct-866219.html
- Large Mylar balloons: I went with the 36” donut balloon and 32” rose gold letter balloons. When using mylar balloons I always order 2 of each because I usually get on that has a hole or deflates quickly after blowing up for some reason. You can return the balloons you don’t end up using. Also, with mylar balloons you can blow them up in advance without helium and they last at least a week and you can usually use them more than once.
- Pink sequin backdrop: I purchased this pink sequin curtain – keep in mind it is a bit sheer so if your using in front of a fire place like I did you’ll want another layer behind it. Luckily I had a gold sequin curtain leftover from a previous party to put behind it. I also used a white faux fur blanket (which I had been using for her monthly milestone photos) as a rug under her high chair.
- Tassel garland: Never ever ever buy tassel garland. It’s easy and cheap. It is a little time consuming so just grab a glass a wine after the little one goes to bed and make this while your watching your favorite show. This link has several tutorials: http://party.katabara.com/2913682-47-trendy-party-decorations-diy-baby-tassel-garland-inn7.html
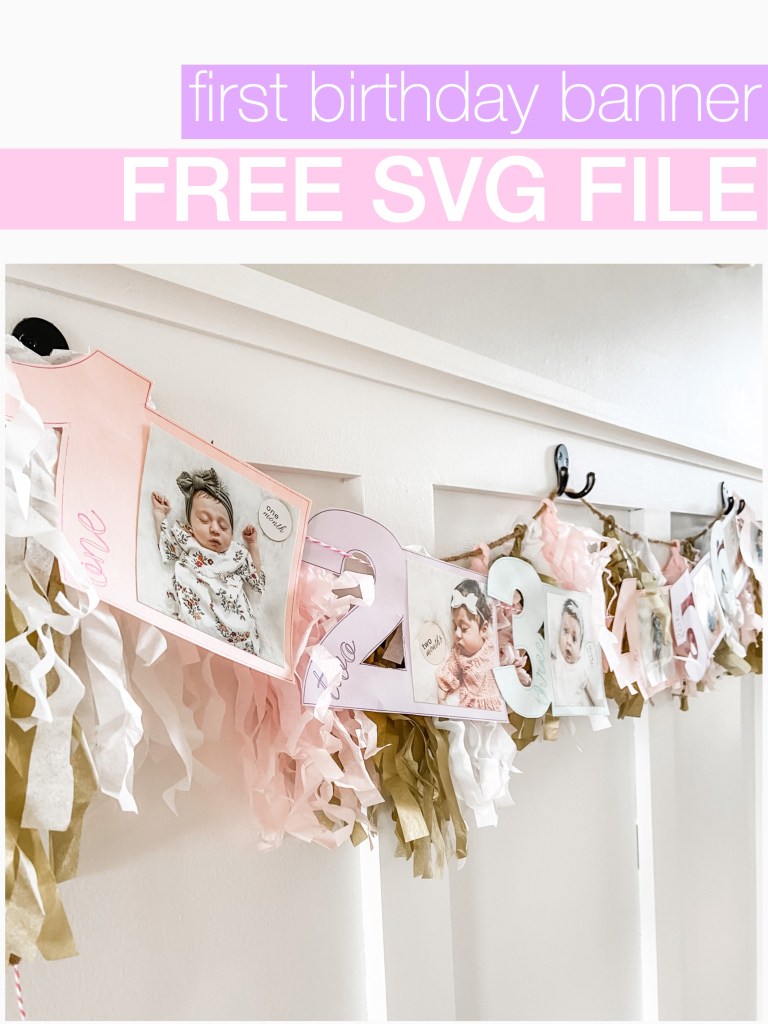
- Monthly milestone photo garland: This DIY will require a Silhouette machine & you can find the free cut file here. Just grab your favorite craft paper & Silhouette pens, use the cut tool for the border and the pen tool for the words. This banner fits 4×4 images. ** THIS FILE IS FOR PERSONAL USE ONLY AND CANNOT BE SOLD OR USED FOR CREATING BANNERS FOR SALE **
The Cake
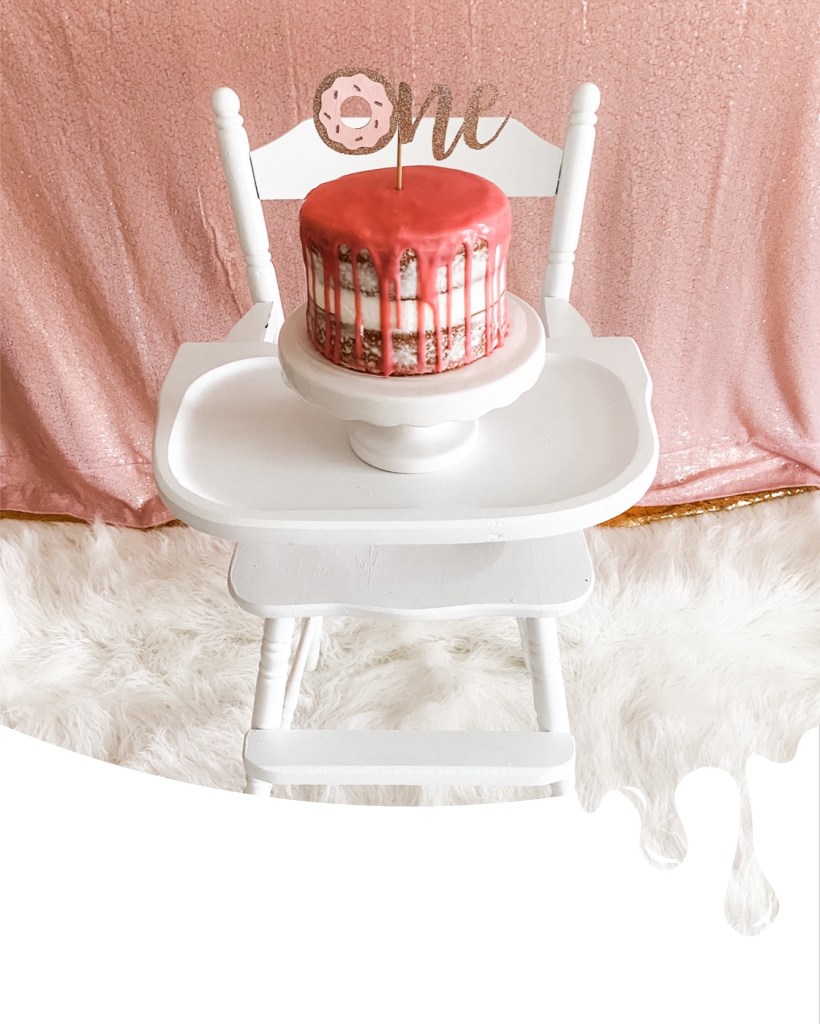
You wouldn’t believe how easy it is to make a “naked cake”. Also – since it’s a smash cake it actually doesn’t matter how good it tastes (😆).
I made the cake shown above with a boxed cake mix & buttercream icing that I bought from my local grocery store bakery (yes they sell just the icing!). You can find plenty of how-tos on Pinterest, I used these 6 inch cake pans and the instructions and the ganache recipe found HERE. A few tips that I’ve learned after making a few of these:
- Make the cake it advance and refrigerate overnight. This will keep your icing from getting crumbs in it.
- Add the majority of the icing to the edge of the cake in between layers. You want it to squeeze out when you stack the layers.
- You don’t need any fancy icing tools. I found that a rubber spatula worked great for spreading the icing where I needed it on the outside and the back of a butter knife worked for smoothing it out / removing excess icing.
- If you’re making colored ganache, use quality white chocolate chips and NOT the chocolate wafers used for candy & dipping fruit. Those wafers ended up being too runny when melted which is why the icing in the image dropped farther than I wanted.
- Remember that a little food coloring goes a long way when color the white chocolate (mistake number too, oops)
- !!! Be patient !!! and let the ganache cool slightly before putting it in the cake or else it will drip farther than you want it to.

The Menu
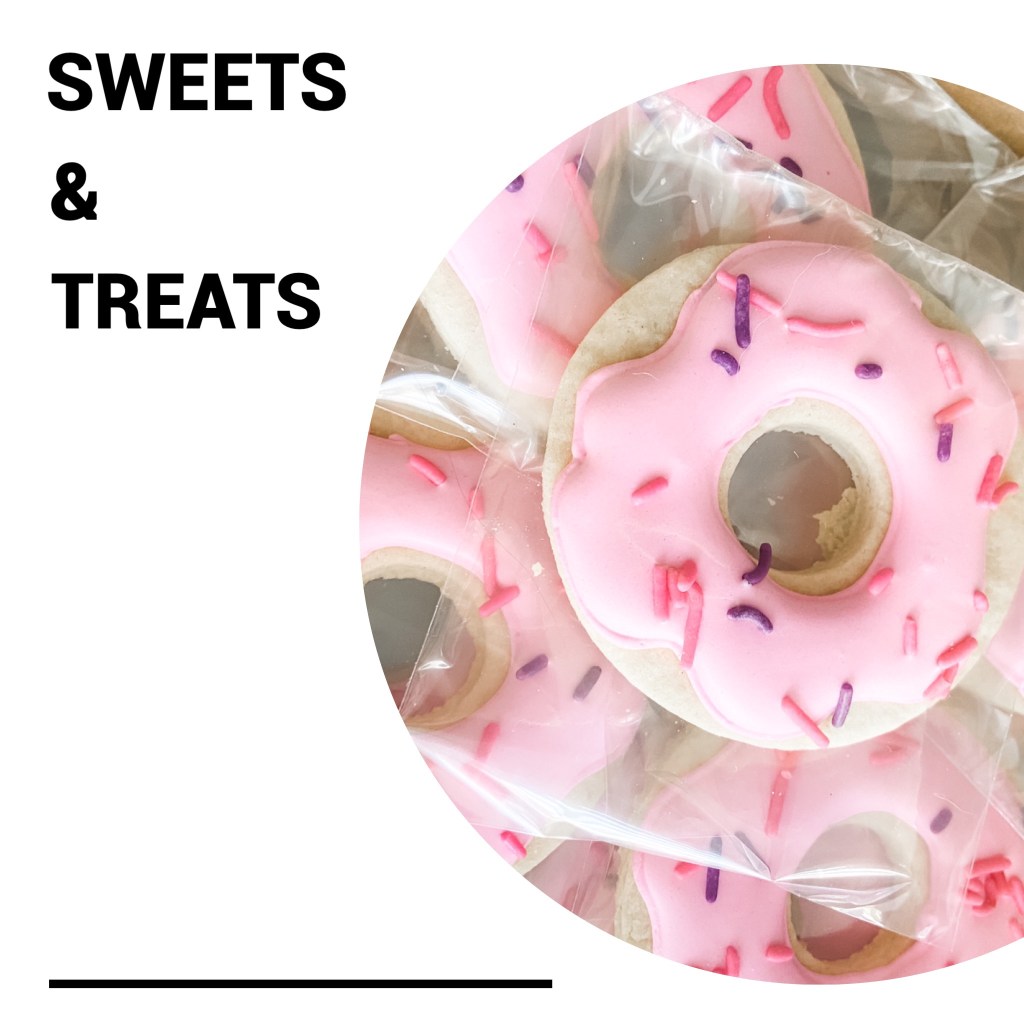
I kept with the donut theme and served brunch food, donuts instead of cake, and cute cookies for party favors. See below for the full menu.
- Your favorite local donuts (we’re lucky to have a Duck Donuts nearby)
- Breakfast casserole
- Sausage balls
- Danishes (Costco danishes are so good) 🤤
- Fruit
- Coffee ( make a Starbucks run that morning and treat yourself to your favorite coffee and get a travel box for everyone else – cups and all the necessities are included! )
- Mimos
- Sweet tea (if you live in the South you have sweet tea, regardless of the type of food 😆)


